Creating a Lesson Plan for Volcanoes – Montessori Laboratory
One of the more popular topics for exploration after the First Great Lesson is volcanoes. Who wouldn’t tingle with energy after seeing an enormous eruption of “scalding hot lava” (aka baking soda and vinegar mixed with a little red food coloring and soap)? In order to encourage your learners’ natural excitement and curiosity after you show them that classic demonstration, you’ll want to have a lesson plan for volcanoes on hand that will inspire them to learn more.
They’ll definitely ask to build their own volcanoes and repeat the demonstration. They will probably also have some questions about real-life volcanoes. But what does the reaction between baking soda and vinegar have to do with molten lava that spews out of the ground in a fiery eruption?
Well, a lot, actually. Making the connection between volcanic eruptions and the reaction between baking soda and vinegar starts with understanding how volcanoes form and what happens when they erupt. Let’s dive deeper.
Table of Contents
- What to Include in Your Lesson Plan for Volcanoes
- How Do Volcanoes Form?
- Different Types of Volcanoes
- Parts of a Volcano
- Further Research on Volcanoes
- Resources to Use in Your Lesson Plan for Volcanoes
- Try Montessori Laboratory’s Hands-on Science Lessons for Free
What to Include in Your Lesson Plan for Volcanoes
In the volcano demonstration we show in the First Great Lesson, we mix vinegar and baking soda together to cause a chemical reaction.
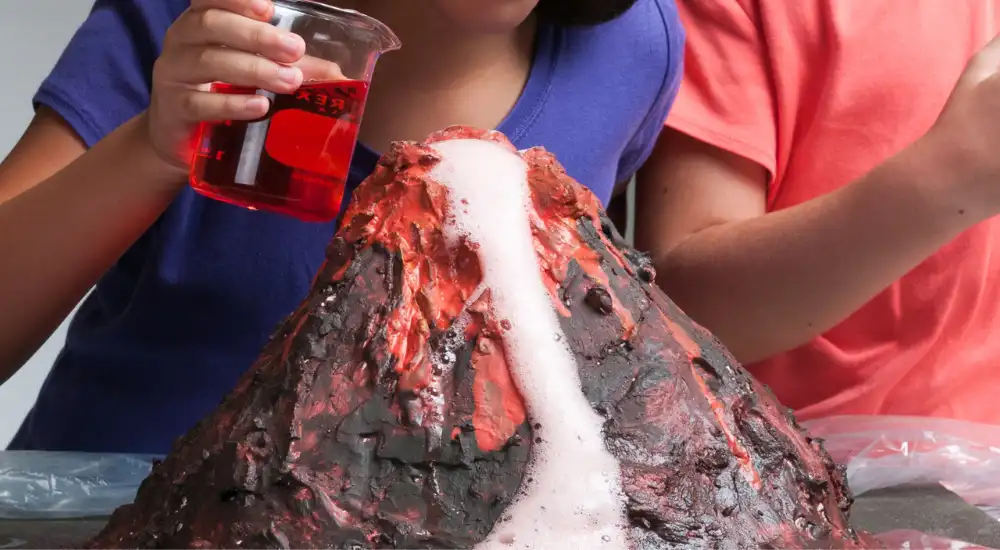
Baking soda is the simple term for sodium bicarbonate. When you mix sodium bicarbonate with an acid, such as vinegar, the mixture produces carbon dioxide gas bubbles, which want to rise. Below real volcanoes, the liquid rock from Earth’s lithosphere and asthenosphere can become so hot that it will also produce gas bubbles that want to rise.
Gas bubbles are what push up on and break through Earth’s crust to cause a real volcanic eruption. The gas bubbles that baking soda and vinegar produce are also what push up out of the opening in your volcano to cause the “eruption.” The rising of gas bubbles is a big similarity between the demonstration and the real thing – on a much smaller, cooler, and less destructive scale, of course.
Running this instantly reactive experiment is exciting at first, and as we mentioned earlier, your learners will probably want to repeat it. However, because elementary children don’t enjoy repetition simply for the sake of it, they’ll want to understand more about how volcanoes really work.
To cover the key pieces of information your learners might want to know, you’ll want your lesson plan for volcanoes to include:
- Information on how volcanoes form
- Nomenclature for the different types of volcanoes
- An activity to help teach the parts of a volcano
- A research project on volcanoes so that your learners can do some open-ended exploration of the topic
All of these components are prepared for you and laid out in Montessori Laboratory’s lesson plan for volcanoes, earthquakes, and plate boundaries, and we’ll talk more about them in the rest of this article.
How Do Volcanoes Form?
The world was a hot and chaotic place when it was forming. As Earth cooled, it formed a solid crust around its surface. The surface might have been hard and cool, but hot liquid remained underneath, unable to be cooled by the cold outer space.
Fast forward to today. Earth has cooled even more, but the hot center remains. As we said before, those inner particles can get so hot that they turn into gas. The gas then forms bubbles in the liquid rock. Since gas is lighter than the liquid surrounding it, the bubbles rise to the surface, pushing the liquid rock out of its way. When this happens, the force created by the bubbles’ motion pushes up on Earth’s crust, which forms a volcano.
All that gas needs somewhere to go, so it essentially breaks apart the crust to make room. This can happen with very little warning. Once the crust has been cracked, the hot gas and liquid from inside Earth now have a clear path to escape.
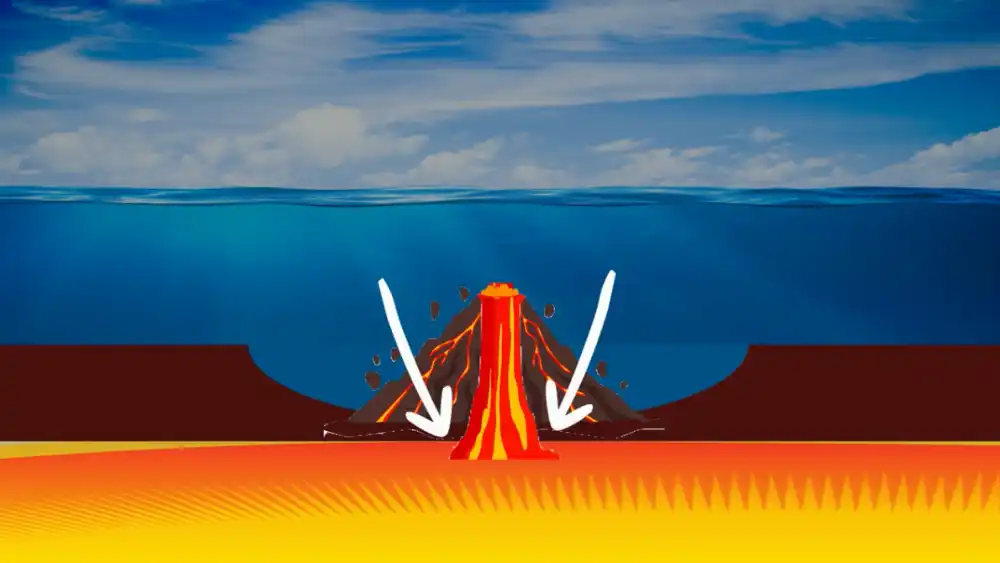
Tectonic plates also play a role in how volcanoes form. These plates make up the Earth’s surface and shift against each other. Interestingly, volcanoes typically form where two tectonic plates meet. Their fault lines provide a convenient place for hot liquid rock to escape.
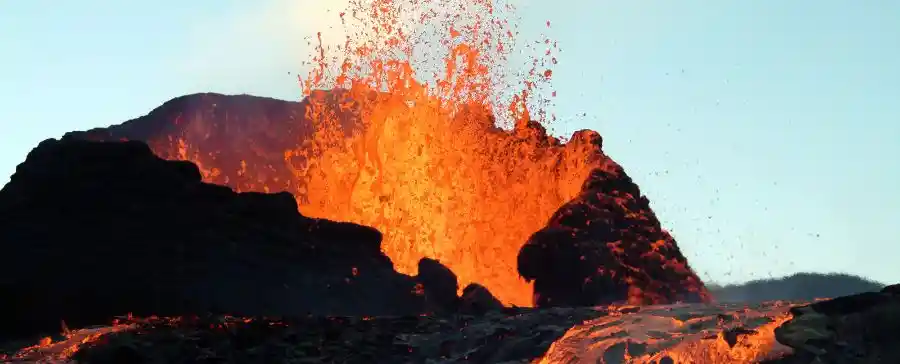
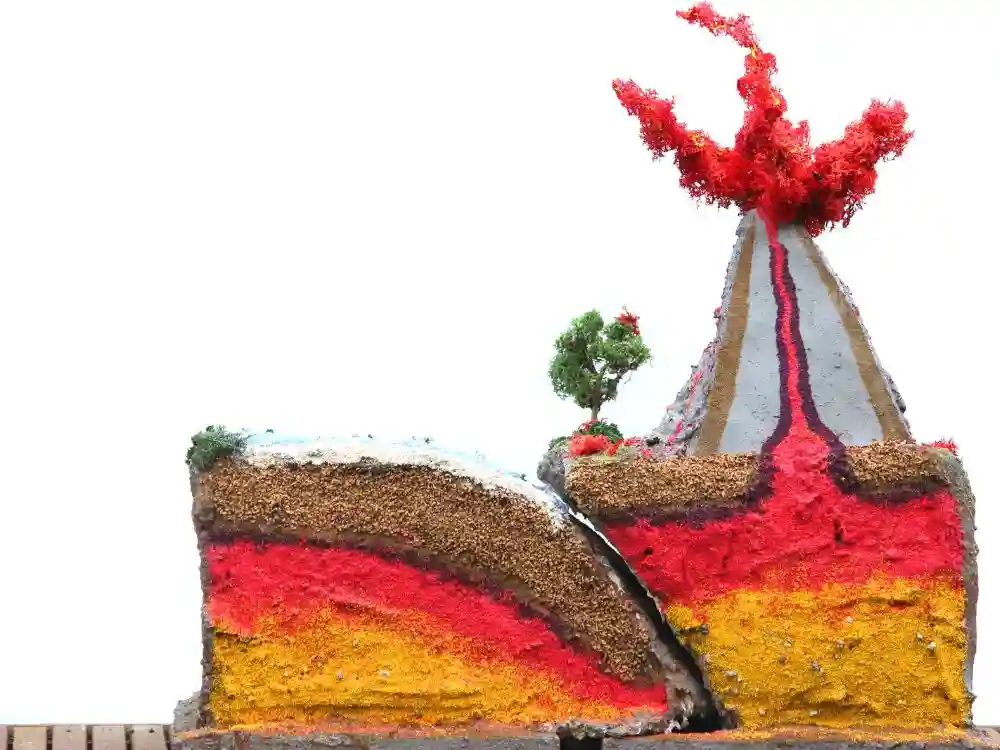
As for its shape, the cone-like appearance of the volcano comes from volcanic ash and hardened lava. Ash consists of tiny particles of rock and glass that are blasted into the atmosphere when a volcano erupts. The source of the ash is actually molten rock that has been propelled out of the volcano during an eruption. The molten rock will cool off in mid-air and break apart into small pieces that are then carried away by strong winds. As the ash settles back down on Earth, it collects to form the mountain-looking cone of the volcano.
Not all volcanoes look or act the same though. The strength of their eruptions, the type of plate boundary they occur at, and the shape they take are all factors that are used to classify different types of volcanoes.
Different Types of Volcanoes
In your lesson plan for volcanoes, you’ll definitely want nomenclature on the different types. There are fissures, shield volcanoes, composite volcanoes, calderas, domes, and cinder cones. And all of those different types of volcanoes could either be active, dormant, or extinct.
Introducing these terms to your learners in the form of nomenclature cards will help them learn the vocabulary they need to do further research on the subject of volcanoes. It will also help to spark their interest in some more specific topics!

For your learners who show a lot of interest in the different types of volcanoes, you can suggest that they make models of each different type. Then they can run the baking soda-vinegar reaction with each different model so they can observe the similarities and differences between each type of volcano during an eruption.
Parts of a Volcano
As your learners explore the different types of a volcano, and volcanoes in general, they will come across the terms for the parts of a volcano. Sometimes a type of volcano is distinguished because it has a certain part that another volcano might not. Other times, the characteristics of a certain part of a volcano are what differentiates it from another type of volcano.
There are many things that a volcano’s parts can tell us about it, so it’s important to know what those parts are. In order to learn about them, a good activity to start with would be a coloring and labeling chart. The artistic component will give your learners’ imaginations a chance to wonder and be curious about volcanoes. The labeling can give them a chance to look at books on volcanoes or go on the internet to do some research.
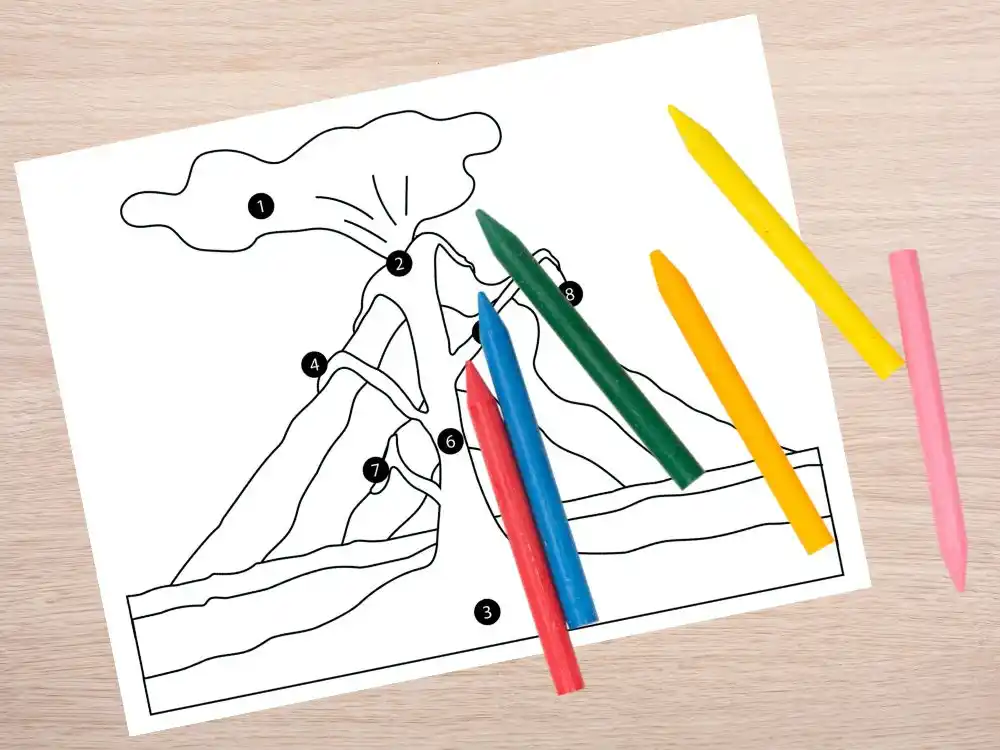
If they’re really enjoying the coloring and labeling, they could extend their work into a STEAM project by creating a salt-dough model that includes all of the parts of a volcano along with their labels. Then, you can have them run the baking soda-vinegar using their new model, and observe how the reaction affects each part of their volcano.
Further Research on Volcanoes
After you explore the different components of volcanoes that we’ve suggested, you’ll want to dive into more open-ended learning – especially if it’s a topic your learner showed a lot of interest in and is still excited about. This is the perfect opportunity for a research project!
As children get older, Montessori education revolves more and more around research and big projects. Project-based learning allows the child to both simultaneously use their imagination to direct their own learning, and show their mastery of a given topic or concept. That is why a research project prompt is the perfect way to culminate your lesson plan for volcanoes. You’ll want it to include relevant questions on volcanoes. Then, you’ll want to invite your learners to answer the questions by writing a report, making a diorama, designing a poster, creating a slide show, giving a presentation, etc. There are so many exciting project ideas you can have them choose from!
Resources to Use in Your Lesson Plan for Volcanoes
Now that you have an idea about how to create a lesson plan for volcanoes, you can feel confident providing your learners with the resources they’ll need to explore the topic. If you’re looking for all of these things in a ready-to-go format, take a look at Montessori Laboratory’s lesson on the Effects of Moving Tectonic Plates. Like the rest of the lessons that come with a Montessori Laboratory membership, it’ll be sure to help you inspire young minds, answer their most curious questions, and bring exciting science into the classroom in a safe yet compelling manner.
Try Montessori Laboratory’s Hands-on Science Lessons for Free
Are you interested in seeing what Montessori Laboratory’s big-picture lessons, hands-on experiments, and engaging science activities are all about? Check out the free lessons below!
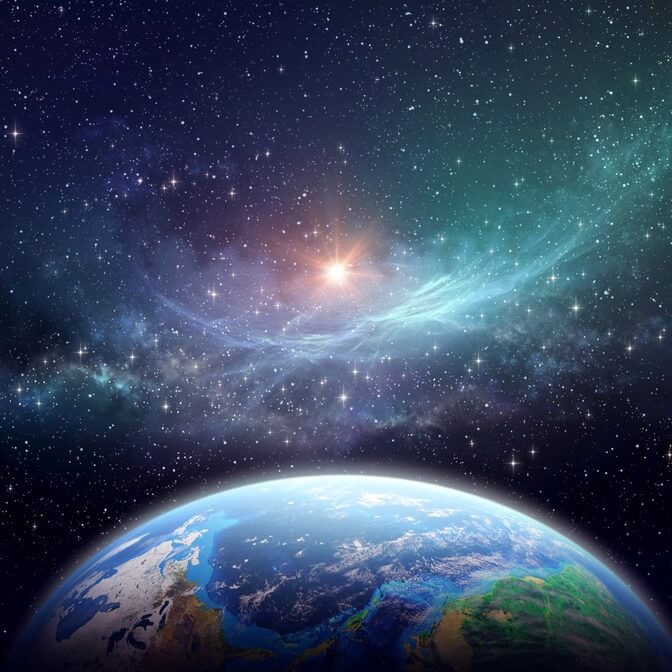
The First Great Lesson
Where did the stars come from? And the Sun? How was our Earth created? And what about the rest of…

Combining and Separating
Why does sand settle to the bottom of the ocean, but salt mixes in? How do people get sea salt out…
How Did Humans Discover Fire?
When did we start using fire? What 3 components does fire need to burn?
Responses