Difference Between Erosion and Weathering (Science for Kids) – Montessori Laboratory
You may have used the term “erosion” to describe the combination of both erosion and weathering, but in fact, they are different processes. In this article, we’ll go over what each process entails, and how to teach your learners about both of them in a way that provides a clear understanding of the difference.
Table of Contents
- First Things First: What Is the Difference Between Erosion and Weathering?
- Tips for Teaching the Difference Between Erosion and Weathering
- Explore Our 7 Hands-on Experiments on Erosion
- Choosing Your Top Tools for Teaching the Difference Between Erosion and Weathering
First Things First: What Is the Difference Between Erosion and Weathering?
Before we dive into teaching methods, let’s be sure that we’re all on the same page. What exactly is the difference between erosion and weathering? They seem similar because they both refer to the environment’s impact on rock and other natural materials, but there’s a core difference.
Erosion refers to the environment (usually water or wind) carrying natural particles from one place to another. Weathering, on the other hand, refers to the environment decomposing or breaking down natural particles in place.

It’s important to note that erosion and weathering can actually work together on the same particles. Weathering, for instance, can degrade a rock into smaller particles which allows erosion to carry those smaller particles elsewhere.
Now, let’s take a closer look at how to teach the distinction between these two natural phenomena.
Tips for Teaching the Difference Between Erosion and Weathering
Erosion and weathering play crucial roles in shaping Earth’s surface and are key concepts in the fields of geology, earth science, and environmental studies. In learning how they differ, children will gain a deeper appreciation for the natural world and how it changes over time. Here are our top tips for teaching them to understand the difference between erosion and weathering:
Use Concrete Examples
As you’re teaching about erosion and weathering, don’t just tell your students about the concept. Use examples they can visualize. For example, you might explain that when rain washes soil from a mountainside down to the bottom of the mountain, that is erosion, but when that soil breaks down in place at the top, it is weathering. Weathering is the breaking apart of sediment, whereas erosion is its movement from one place to another.
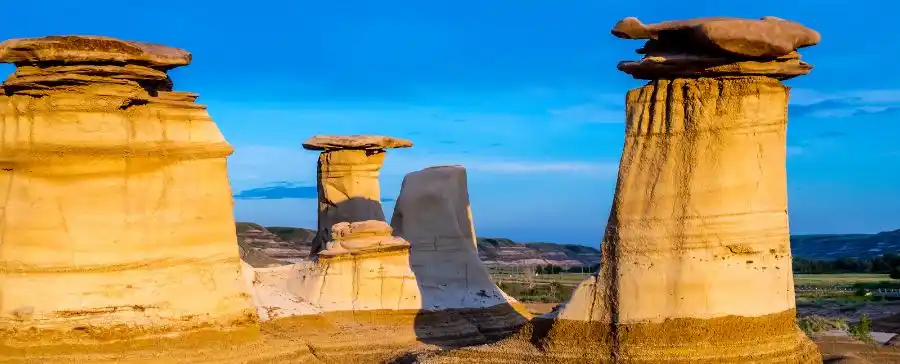
You can also show them photos or videos of natural landmarks that have changed over time, like major sand dunes or the Grand Canyon, and talk through whether they have been affected by erosion, weathering, or both (it’s usually both). This illustrates the concepts of erosion and weathering while also helping students connect the concept to the world around them so they see why they are relevant.
Photos often show the aftermath of erosion and weathering, so you will also want to use impressionistic charts or other visual aids that show the processes in action.

Provide a Hands-on Experience
One of the best ways to teach any concept is by walking your learners through experiments that let them see it in action. This is the case with erosion and weathering too. With experiments, students can directly see the processes in motion, or at least a simulated version of them.
Erosion is easy to create in an experiment, but weathering is more challenging because, in nature, the process takes place over many, many years. There are ways you can replicate it, though.
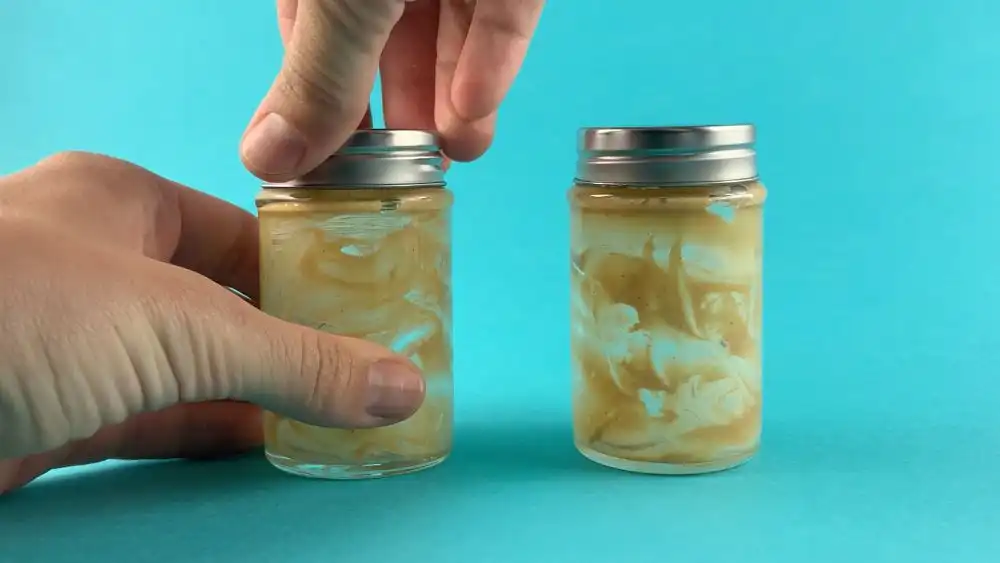
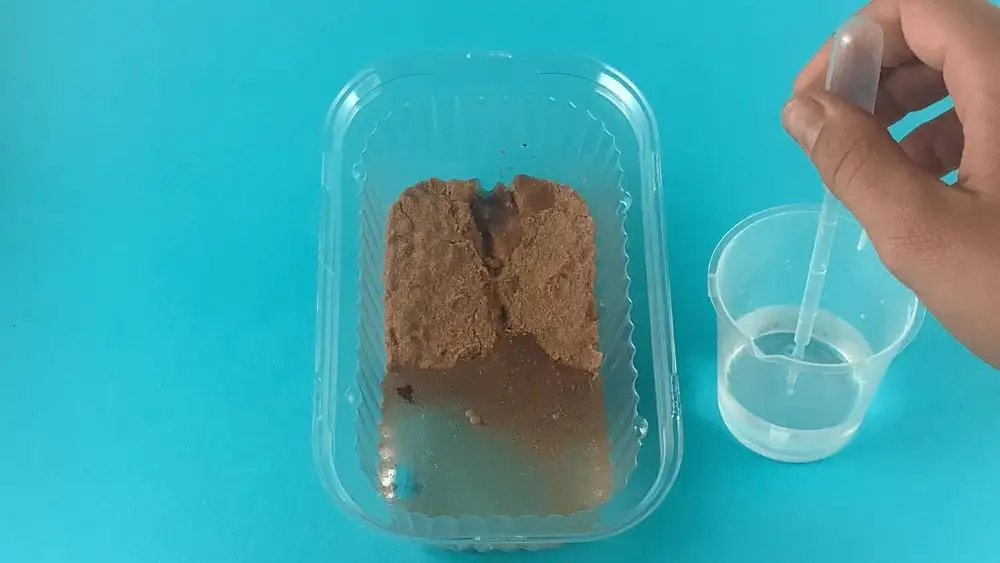
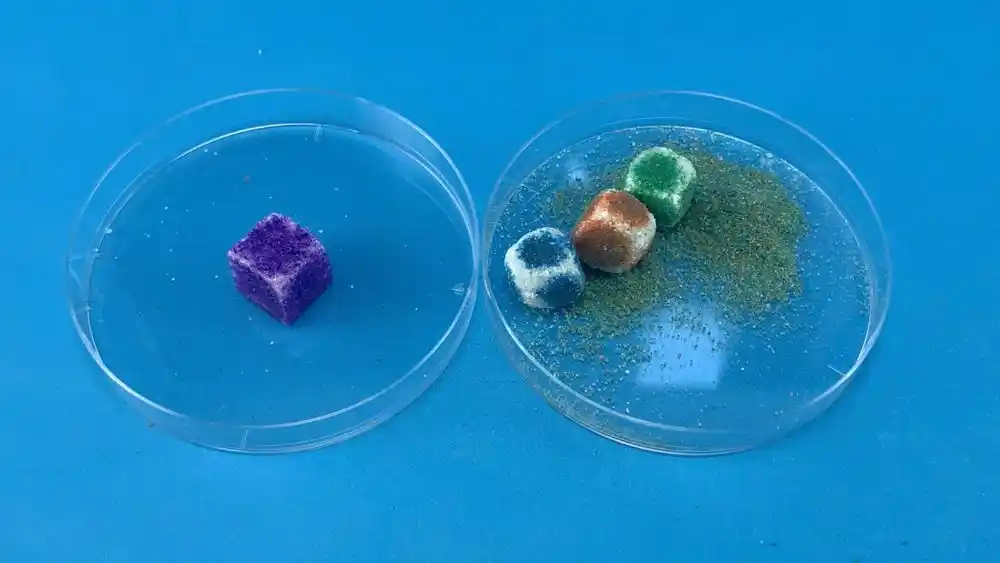
For example, set up an experiment with two piles of cotton candy. You can demonstrate erosion by picking pieces off the first pile and laying them down somewhere else, as the wind would do. You can then demonstrate weathering by pouring water on the second pile of cotton candy, showing how it shrinks and degrades in place. Both piles got smaller but through different means.
This example, or something similar, will give your learners an initial visualization of the difference between erosion and weathering. Then, because elementary children require repetition through variety in order to fully grasp a concept, you’ll want to provide a handful of other experiment options for them to try.
Explore Our 7 Hands-on Experiments on Erosion
Looking for more ways to show your learners the process of erosion in action? Check out our list below! They’re all part of Montessori Laboratory’s work of water lessons that focus on erosion.
What Gives Water its Power of Erosion?
Does water alone erode things, or is it the movement of water that does? You’ll find out in the What Gives Water Its Power of Erosion? experiment. This experiment is part of a series of video lessons that explore how water erodes the land, and how it creates massive geologic features like valleys and canyons.
Canyon Formation Model
One of the best ways we can witness erosion’s power and its impact on nature is by looking at canyons. Because they can take millions of years to form, you usually only get to see the end product, and not the actual process of them forming. With a model though, you can see it happen in real-time on a smaller scale! Try the Canyon Formation Model experiment to demonstrate to your learners first-hand how erosion can form canyons and other major landforms.
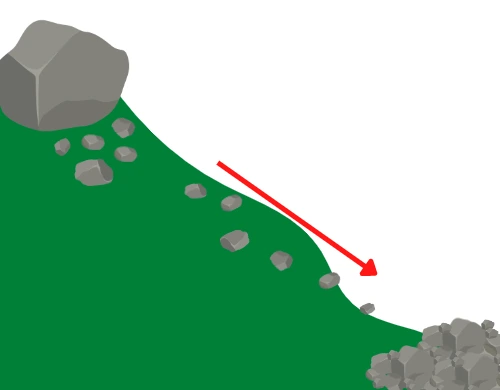
How to Stop Erosion Experiment
While erosion is a natural part of our changing landscape, it can be detrimental to environmental features, terrains, and habitats as well. The How to Stop Erosion experiment and its accompanying lesson focus on demonstrating ways that Earth naturally minimizes erosion, and how humans and animals have engineered ways to minimize it too.
How Else Could You Stop Erosion?
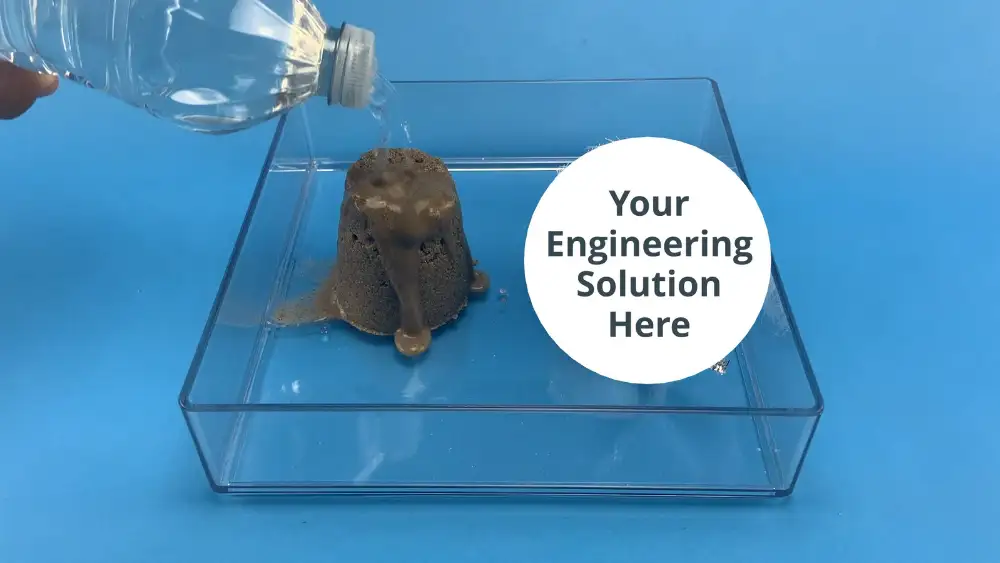
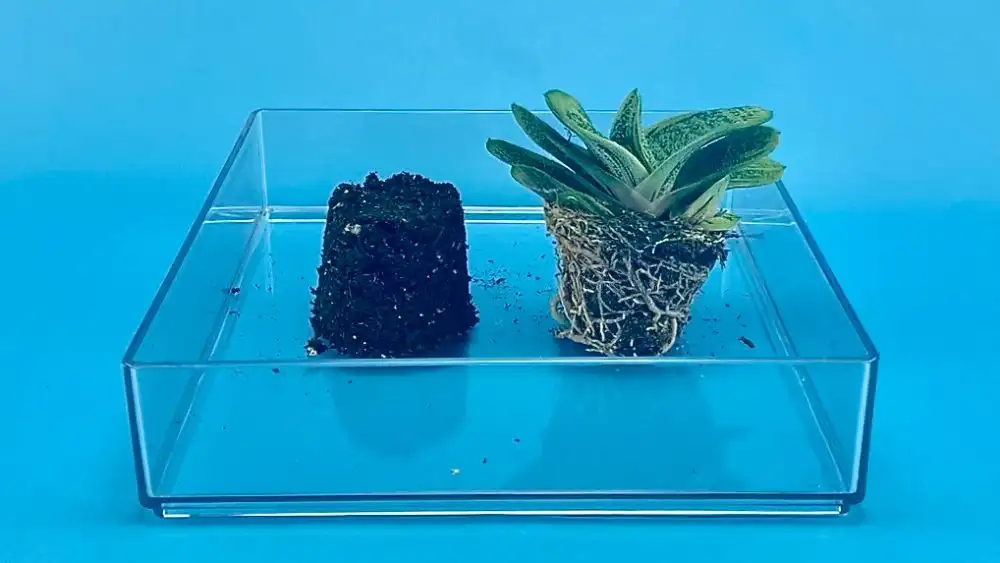
This experiment is an extension of the previous one. To continue teaching about ways to prevent erosion, the How Else Could You Stop Erosion? STEM project pushes learners to use their creativity and problem-solving skills by challenging them to find various strategies for stopping erosion.
Canyons vs. Valleys Erosion Experiment
Erosion affects different environmental features in different ways. In the experiment Canyons vs. Valleys Erosion, students will be able to see how erosion from rainfall can create wide, sloping valleys, or steep, narrow canyons.
Coastal Erosion Model
Coastlines around the world are constantly changing due to erosion and weathering. Like the canyon formation though, you won’t usually see it happening right in front of you. That’s where the Coastal Erosion Model experiment comes in!
Ocean Weathering Model
The previous experiment focuses mostly on erosion happening to coastlines. This one, the Ocean Weathering Model, shows how weathering plays its part in forming sediment in the ocean and shaping rock on and off the coast.
Choosing Your Top Tools for Teaching the Difference Between Erosion and Weathering
Erosion and weathering are similar geological processes, and sometimes it can be hard to draw a line between where one ends and the other starts! If you have the right tools in hand though, you’ll feel confident passing the knowledge on to your learners. We suggest using a combination of the following things:
- Hands-on erosion and weathering experiments
- Photos and videos of real-world examples
- Impressionistic charts and visual aids
- Prompts for learners to engage in open-ended “big work” like research projects
If you’re looking for these types of resources in a ready-to-go format, take a look at Montessori Laboratory’s series of lessons on erosion. Whether you jump around from experiment to experiment, or you follow the natural order of each big-picture lesson, your learners are sure to get a good grasp on the difference between erosion and weathering.
Responses